Create Datasource with SQLite
Introduction SQLite
This document contains information about the SQLite database how to install and connect with AIV.This document has step-by-step information on how to install, connect SQLite Database with AIV and will show one use case example.
SQLite is a widely-used lightweight, embedded relational database management system (RDBMS). SQLite is a C-language library that implements a small, fast, self-contained, high-reliability, full-featured, SQL database engine. SQLite is largely SQL standards-compliant, and it is fully ACID compliant.
Objective
To connect SQLite Database with AIV.
Prerequisites
SQLite Jar
SQlite Database
Skill Level Required
Basic knowledge of Database.
1. Download SQLite JDBC driver:
To get the JDBC driver, Go the vendor's end and download the SQLite-connector-java.jar Driver file from here as shown in figure below:

After downloading the jar file, add it into the AIV.
To add jar go to the Directory where AIV installed
AIV\apache-tomcat-8.5.61\webapps\aiv\WEB-INF\libfolder and add the .jar file here.AIV: AIV is the folder name where aiv is installed.
Apache-tomcat-8.5.61: Apache Server [Apache folder is located inside the AIV folder, suffix version may change]
Restart the Tomcat server after adding a jar in the lib folder.
2. Download SQLite from here.
It will redirect on new page select Precompiled Binaries for Windows and click on SQLite-tools-winn32-x86-3370200.zip file to download.
Go to the folder where you have downloaded this file and extract the zip file.
When you go inside the folder you will be able to see three executable files.
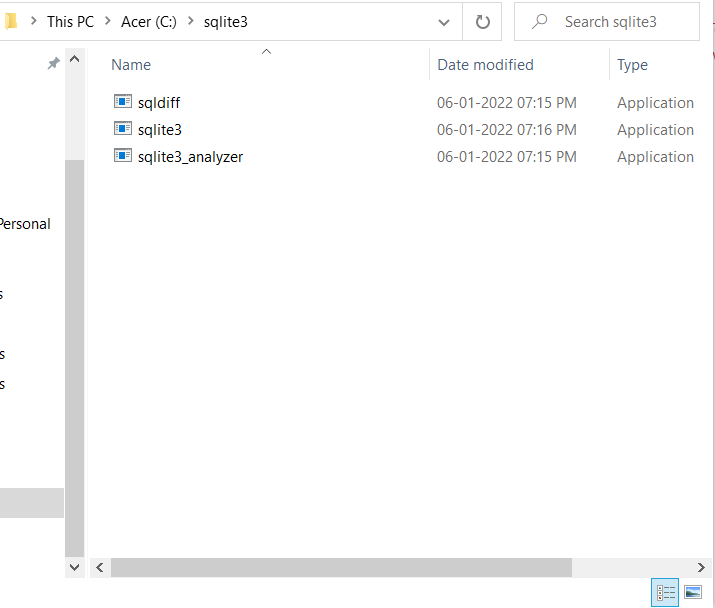
Copy the SQLite folder and paste it into your desired location, here I am adding in C drive.
We need to set the environment variable for SQLite, for that we have to copy the path of SQLite (C:\sqlite3)
Click on Windows icon and search edit the system Environment variable >> environment variable
Select Path – System Variable >> Edit button
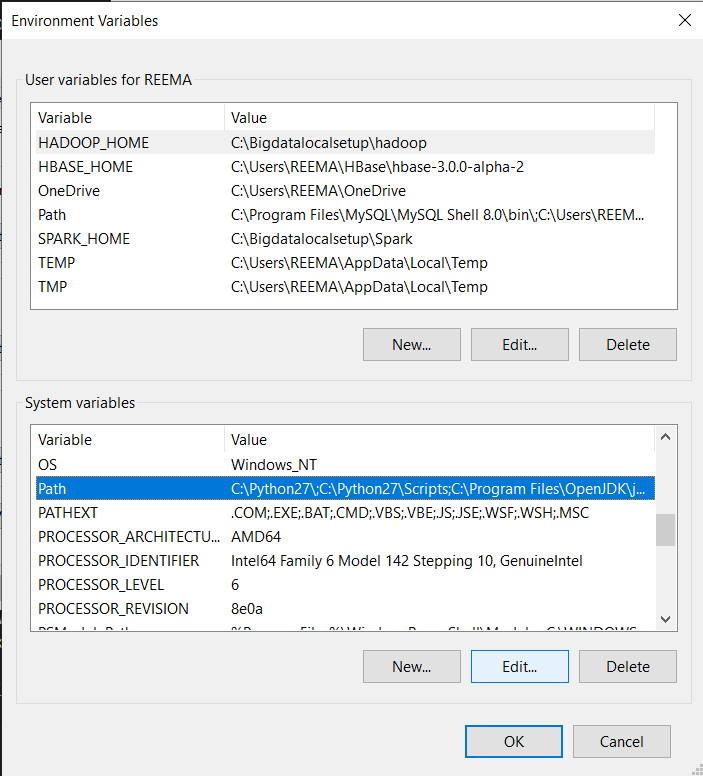
Click on New Button >> Paste the path of SQLite Folder, as shown in figure below:
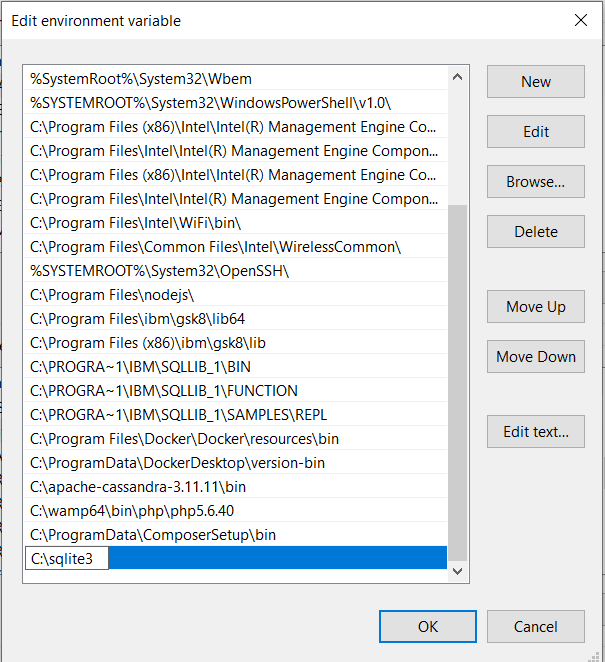
Click on OK.
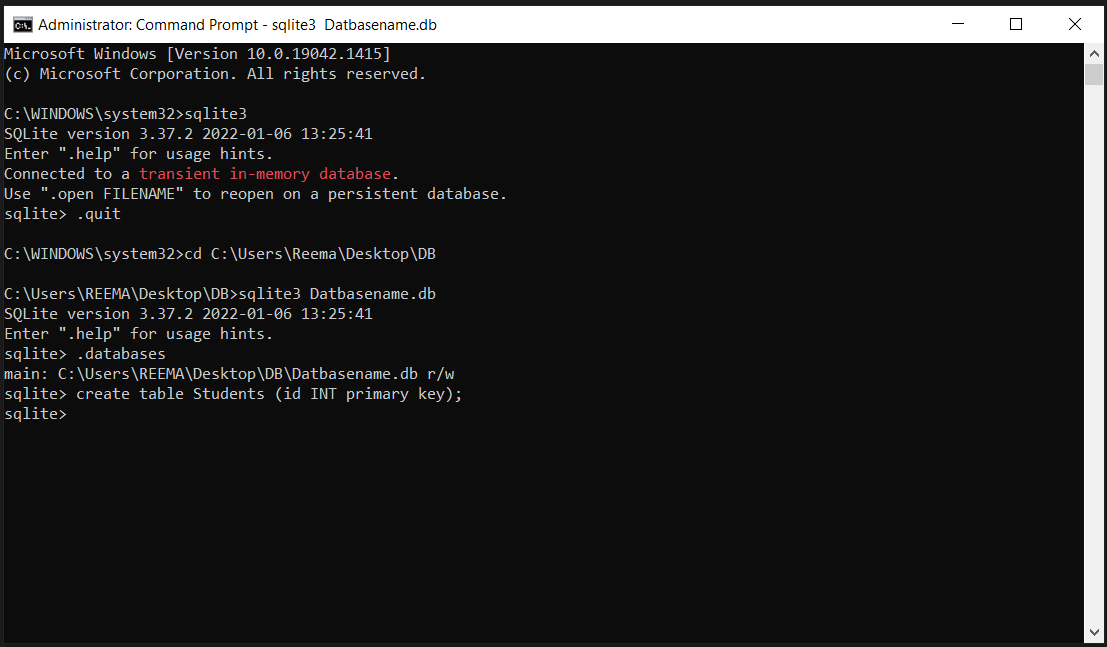
Open Command Prompt Run as Administrator and write command as shown in figure below, you will see sqlite version.
sqlite3
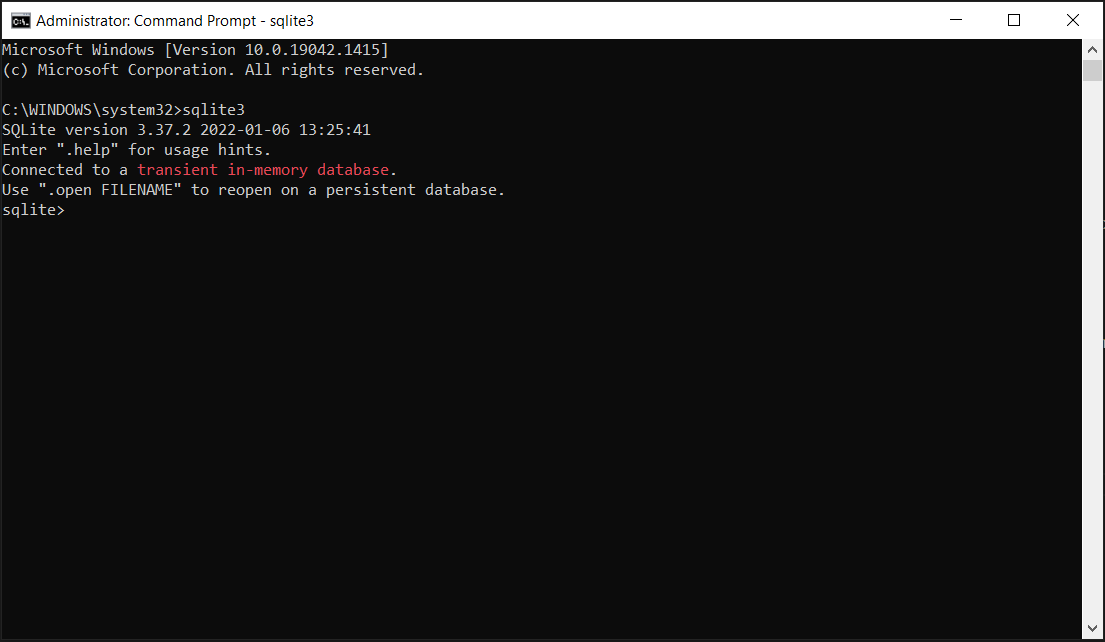
From exit out of database wrote command .quit and you will come out from SQLite Shell.
.quit
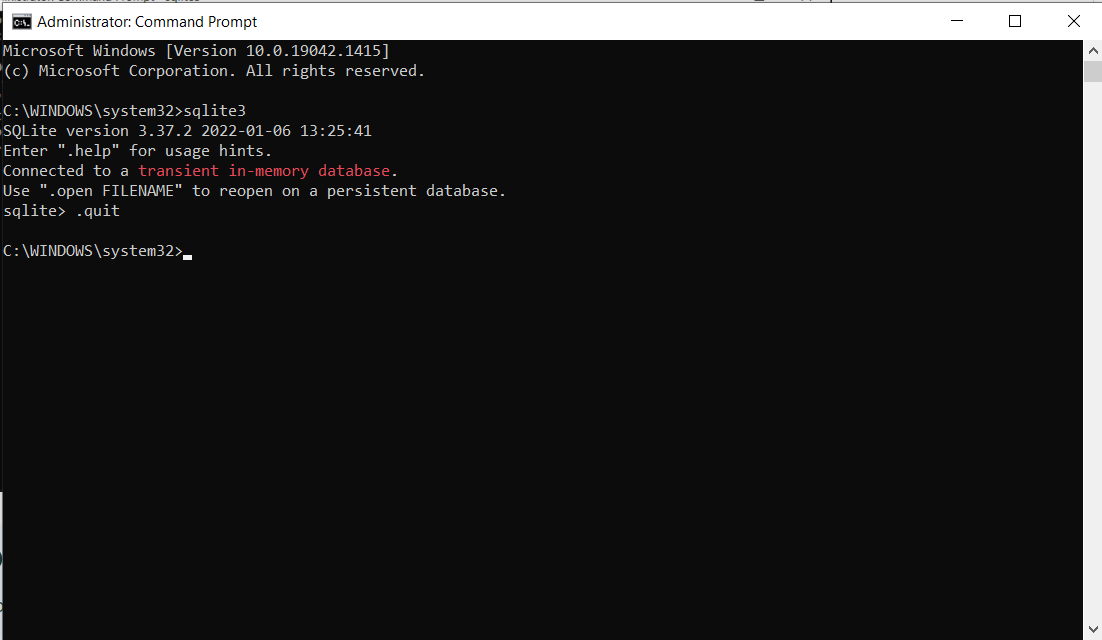
To create a database because SQLite database is created locally in the File System so for that you just need to cd to the directory in which you want to create your SQLite Database.
I am creating an SQLite database on my Desktop so for that I am creating a new folder and giving the name DB.
Once you create the DB folder just open it and copy the path of the DB folder C:\Users\Desktop\DB and in command prompt write cd path for example cd C:\Users\Reema\Desktop\DBand hit enter.
cd C:\Users\Reema\Desktop\DB
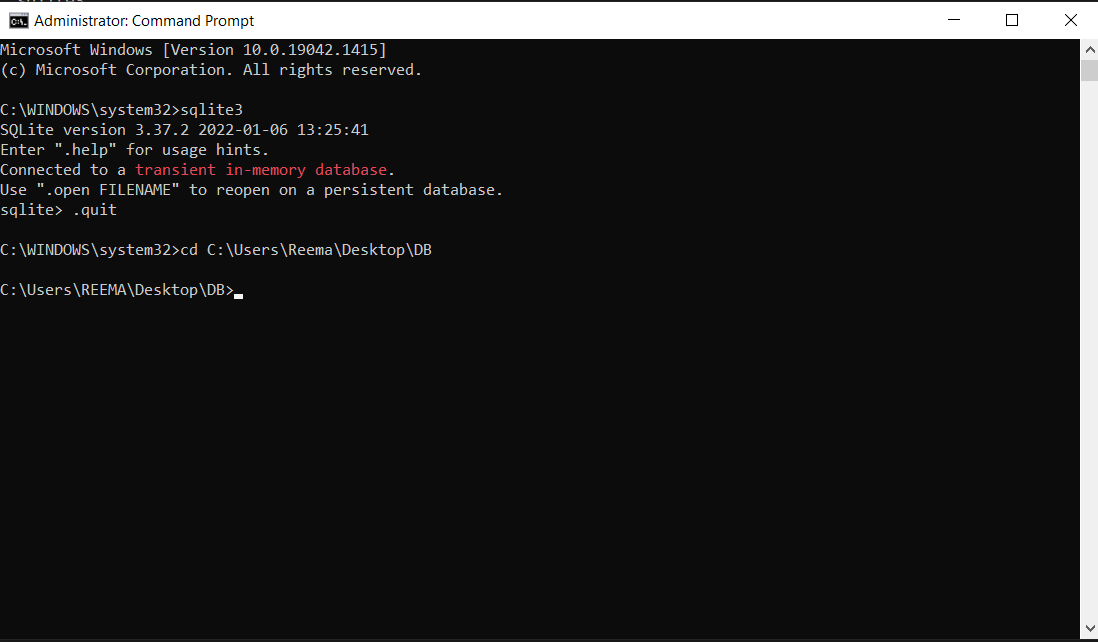
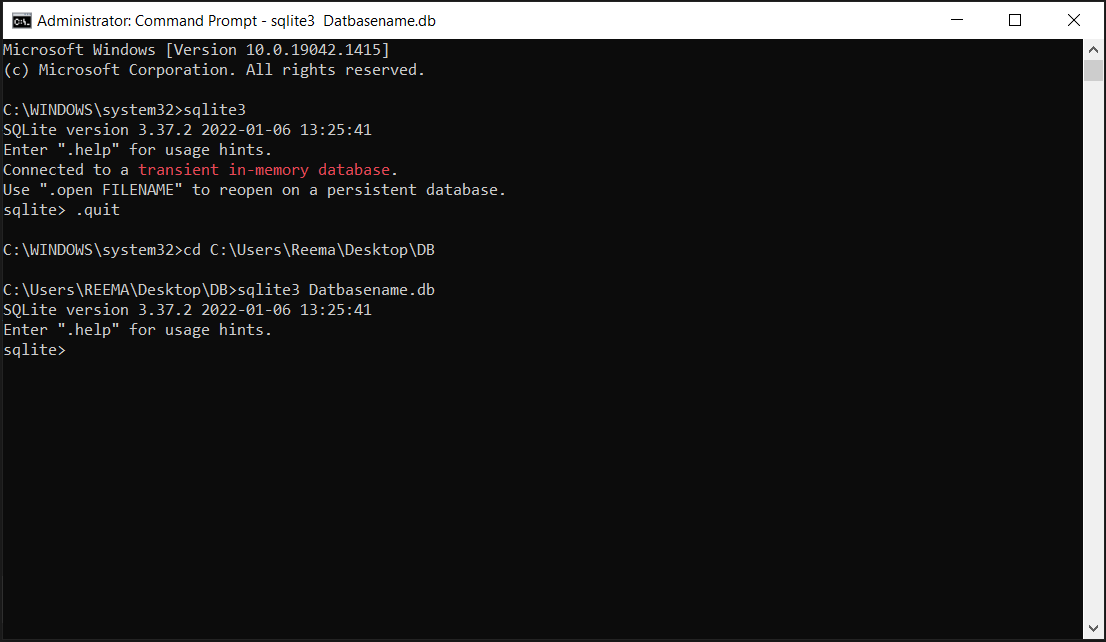
To create a database write command below ex. Sqlite3 Datbasename.db hit enter.
sqlite3 Datbasename.db
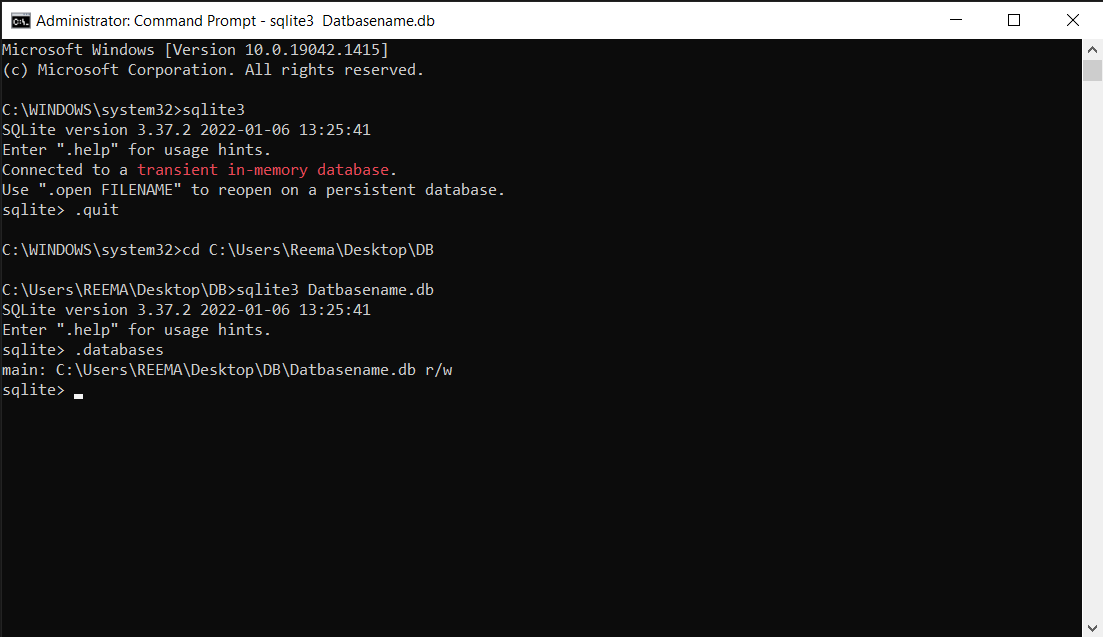
To view the database which you have created write command below:
.databases
For creating a Table inside mydb write a command below:
create table Students (id INT primary key);
To know more about SQLite Database operation click here.
Connecting SQLite Datasource with AIV
Go to the Master data section and click on Data Source, as shown in the figure below:
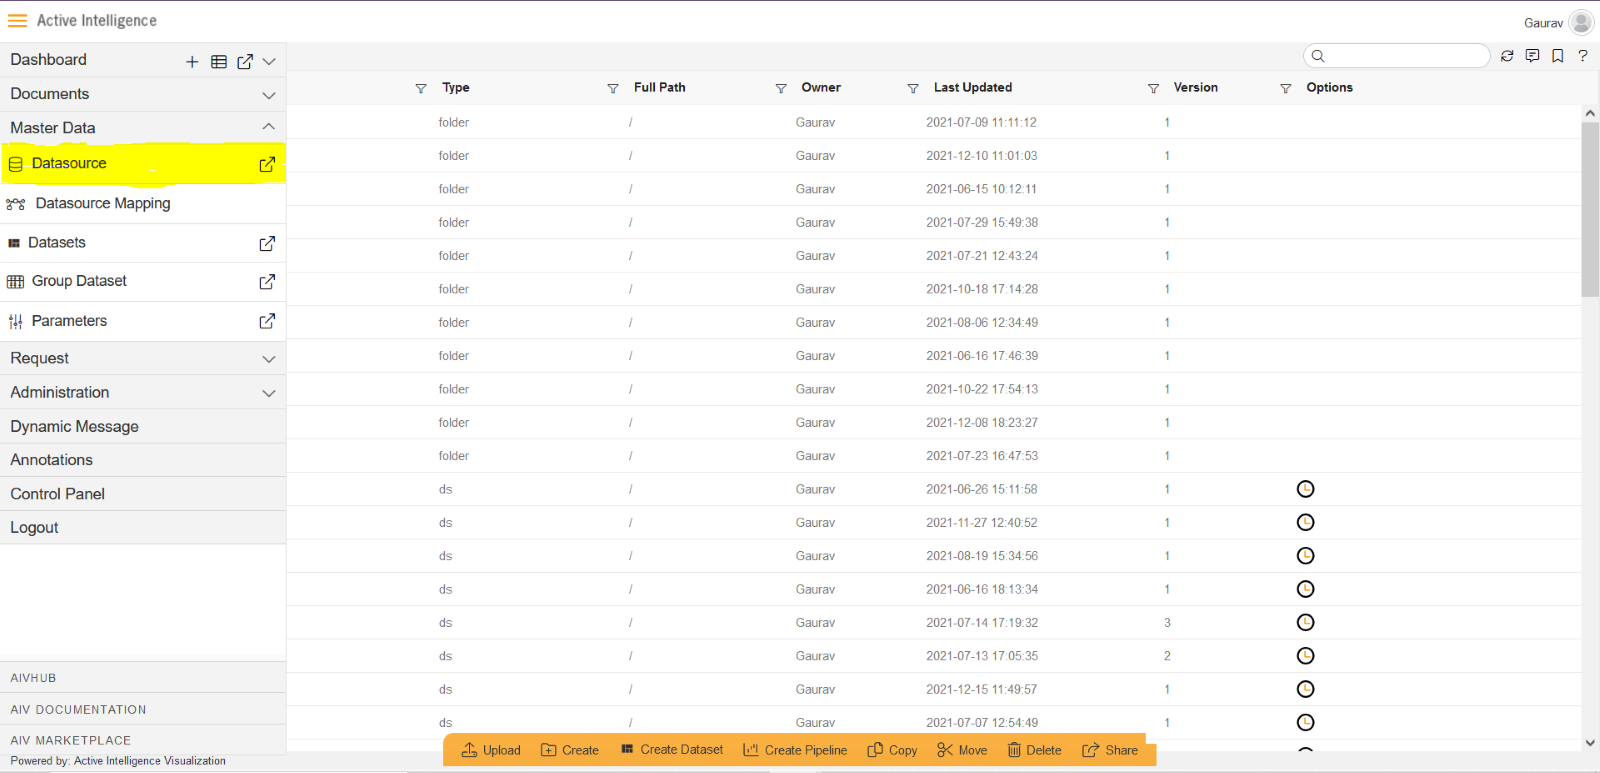
Click on Create button from the bottom horizontal menu bar from Datasource section, as shown in the figure below:
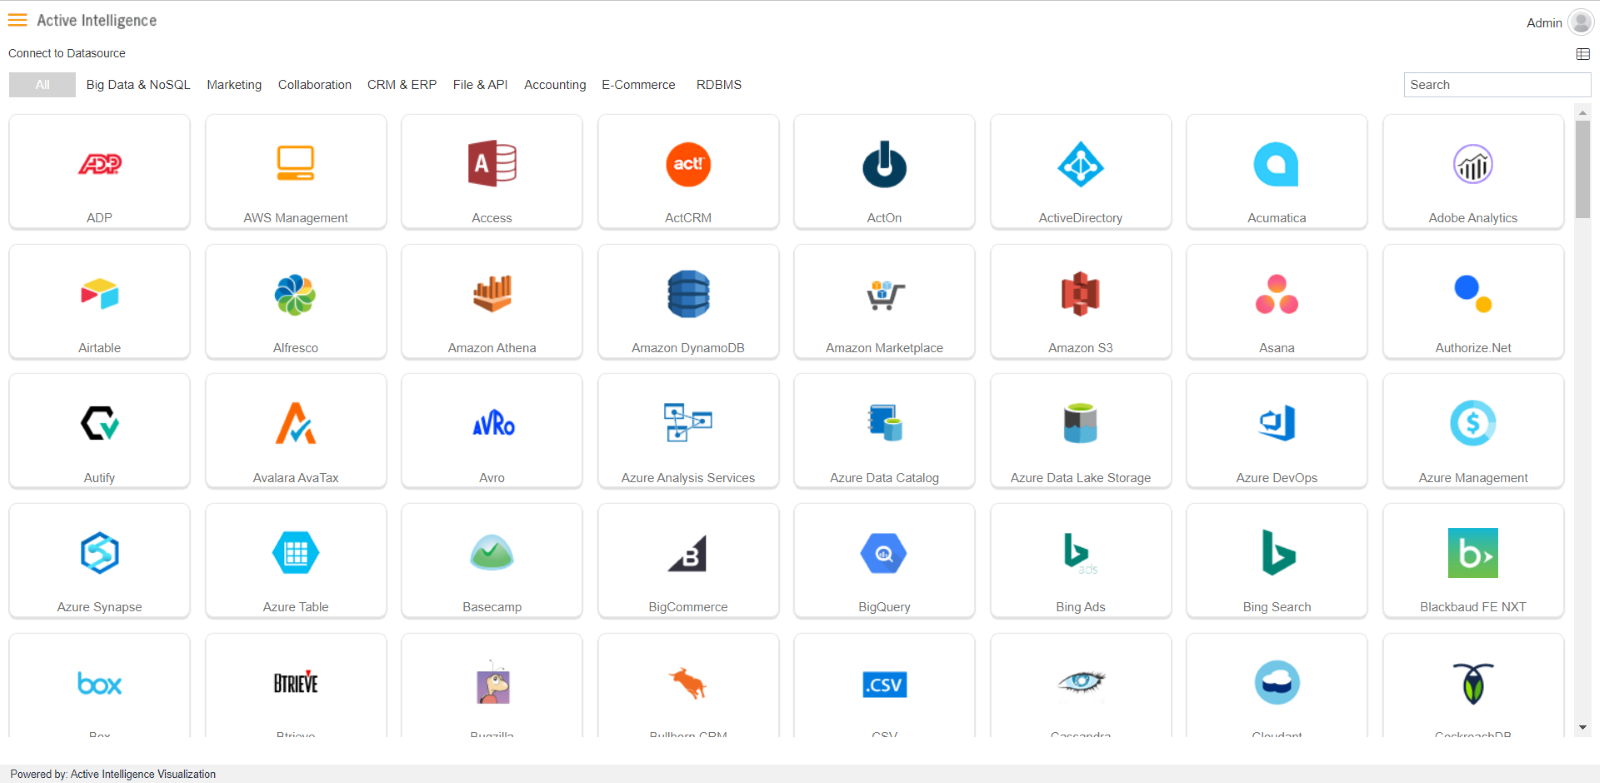
The Create Datasource window will open, as shown in the figure below:
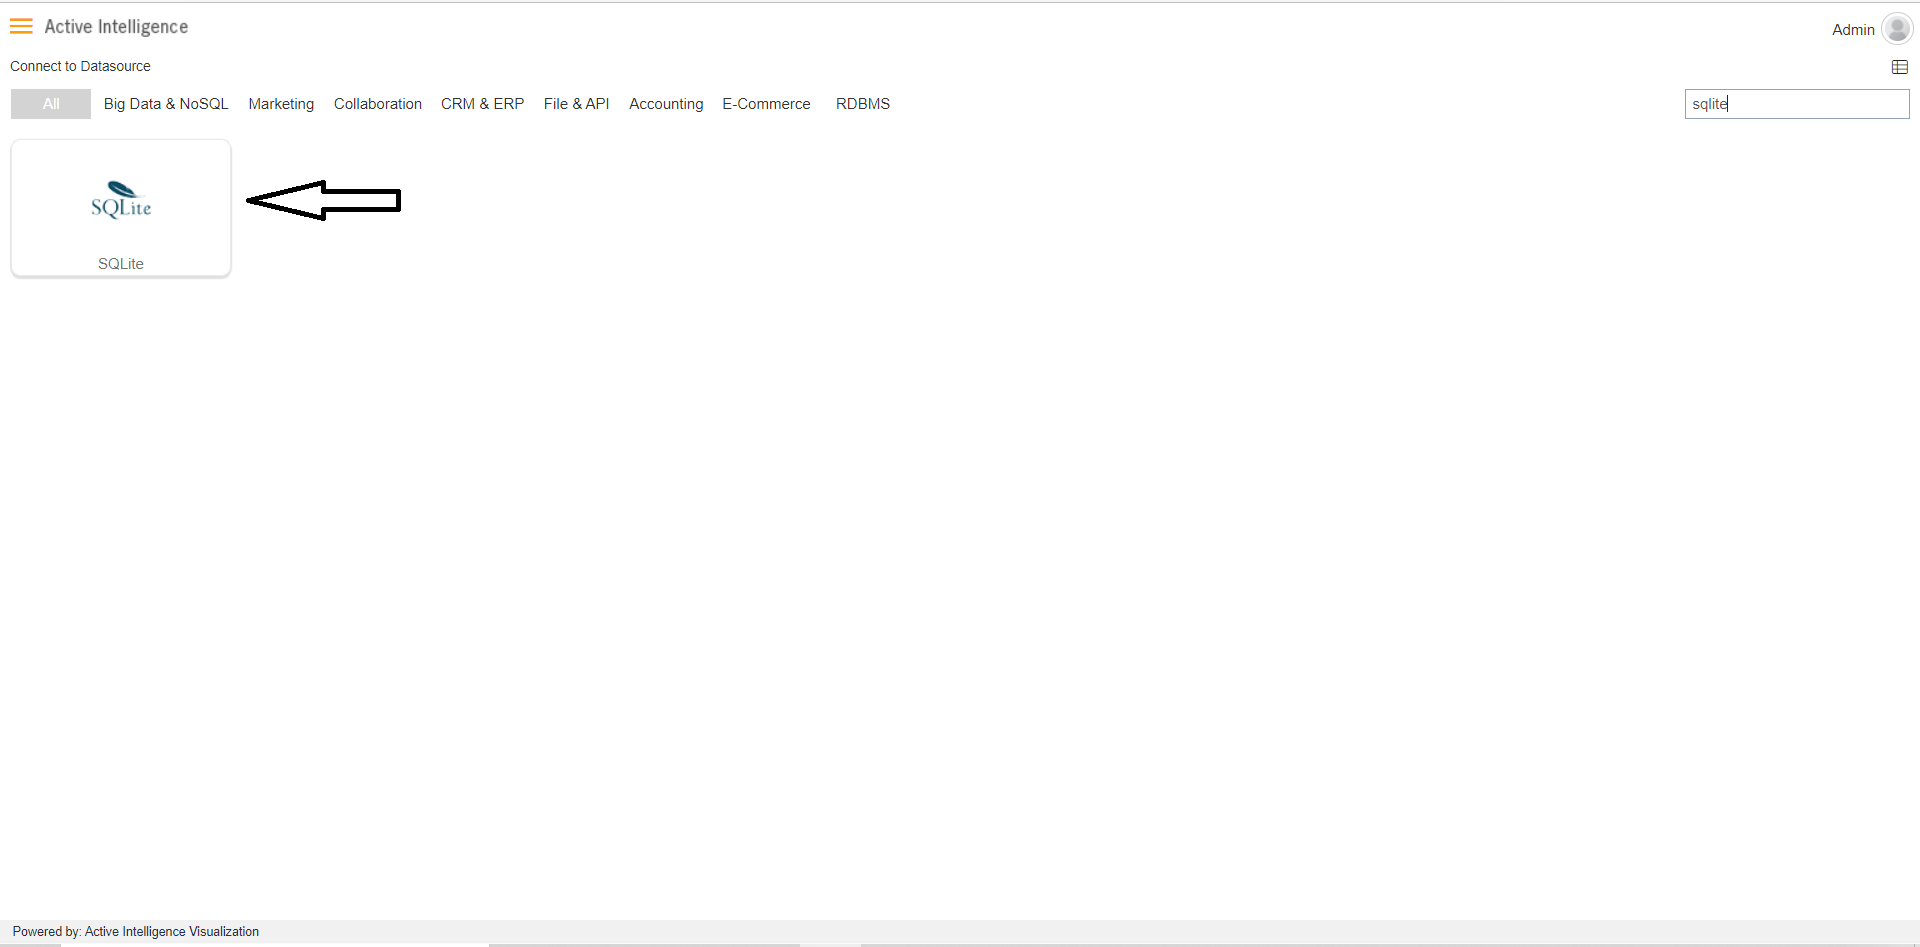
Search for SQLite data source from Top-right search bar in Datasource section, as shown in the figure below:
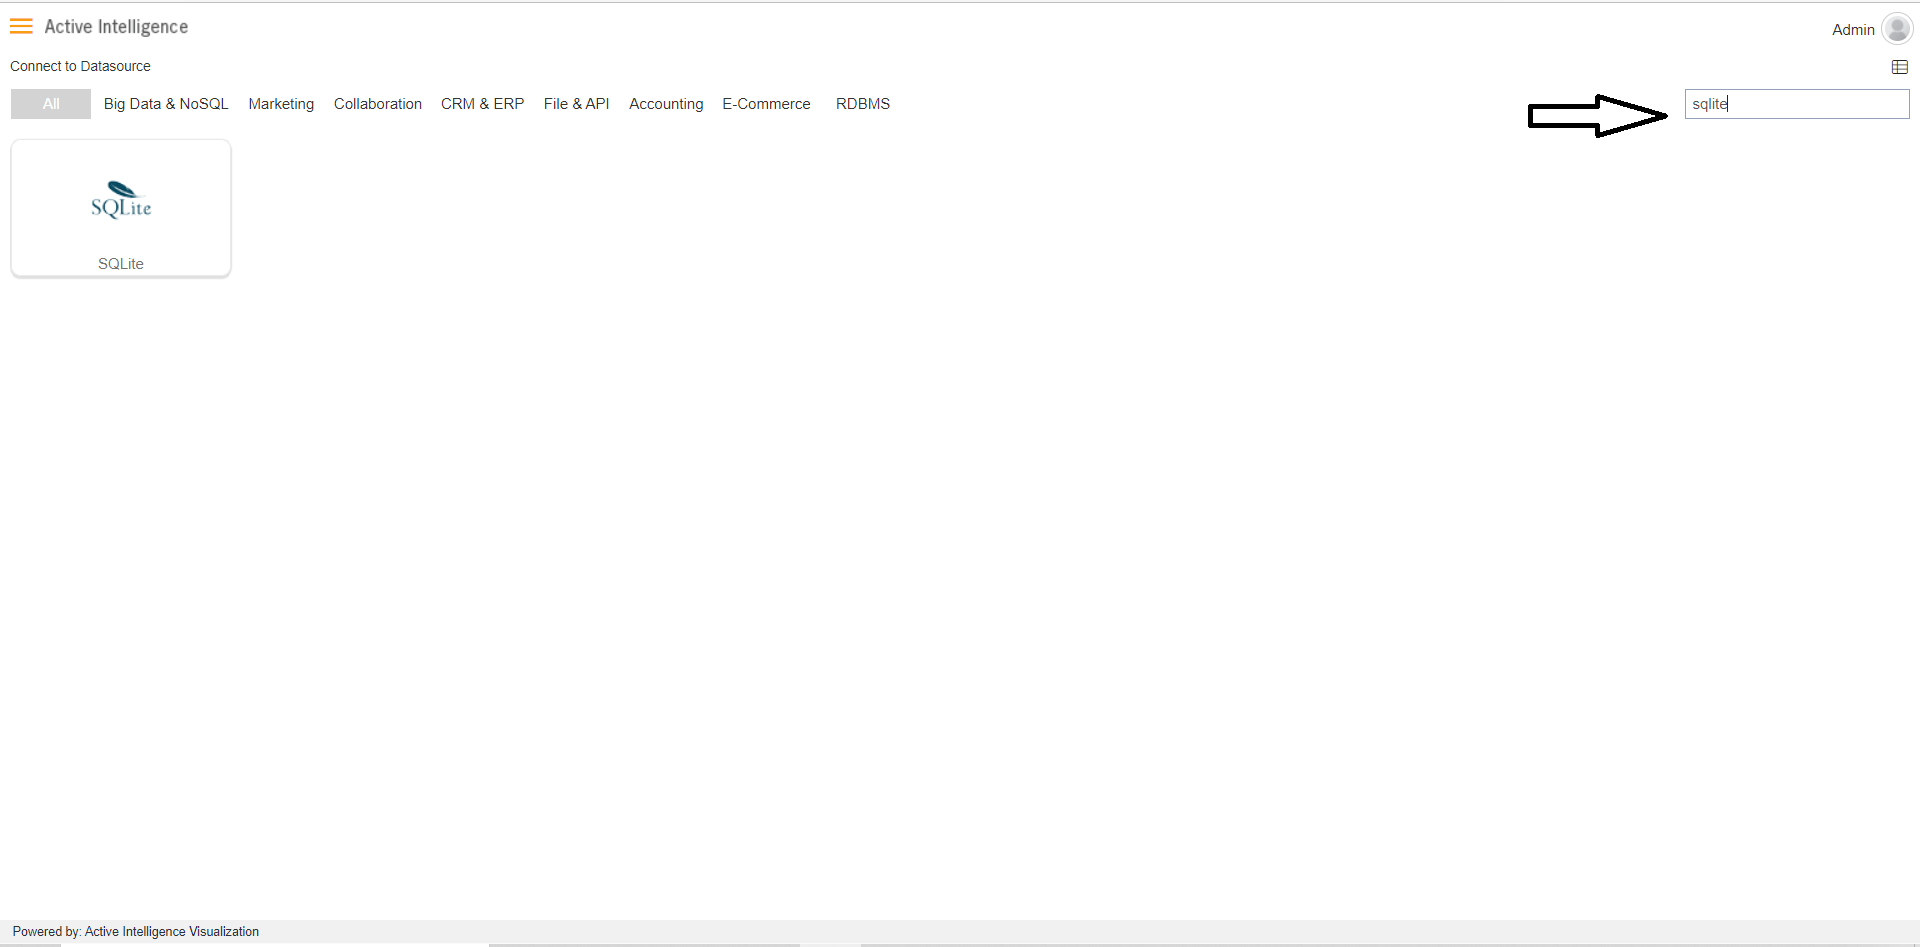
Click on SQLite to create a data source using SQLite.
As you click on SQLite the create dialog box will pop-up on screen, as shown in the figure below:
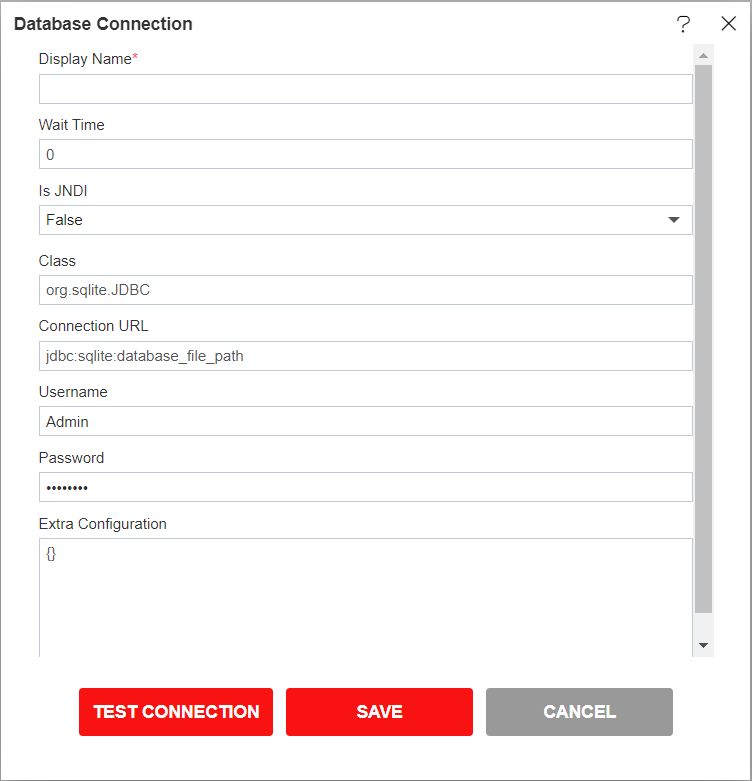
Wait Time: Wait Time Analysis for Database Optimization. Wait time analysis helps you understand how much time each SQL statement is spending across all its executions in a given period of time.
Is JNDI: Java Naming and Directory Interface is the name of the interface in the Java programming language. It is an API( Application Program Interface) that works with servers and can fetch files from a database using naming conventions.
Class: Database class Contains methods for creating and manipulating data.
Connection URL: A database connection URL is a string that your DBMS JDBC driver uses to connect to a database.It can contain information such as where to search for the database, the name of the database to connect to, and configuration properties.
Username: Username is the name of the user that is connected to the database.
Password: You can set a password on an Access database to prevent unauthorized access to the database file.
Extra Configuration: Using Extra Configuration you can add extra fields as per ypur requirements.
Insert the following data in the Datasource connection Dialog box:
Enter Display Name: SQLite [ Add name as per your requirements]
Enter Class:
org.sqlite.JDBC
Enter URL: jdbc:sqlite:database_file_path[Add Connection URL as per your connection]
(URL: jdbc:sqlite:C:\Users\Desktop\DB\database.db) Datasource
Enter Username: [Provide the username of your SQLite Datasource]
Enter Password: [Enter your respective SQLite password]
Click on Test Connection Button to Check Database Connection, as shown in figure below:
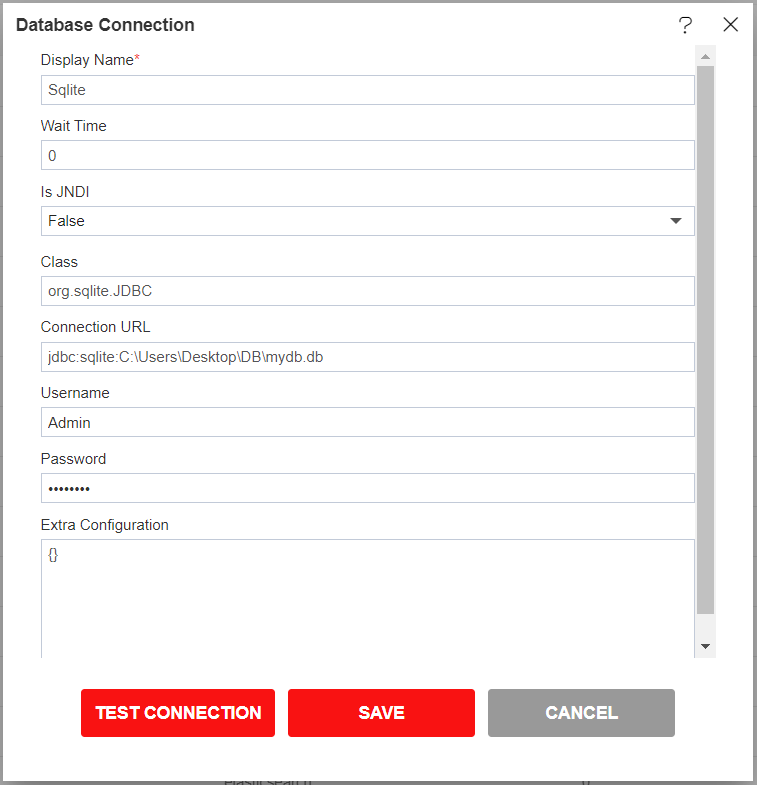
After Connection Successful, Click on ok and save button to close the Dialog box.

To create a dataset Select the SQLite DataSource and click on Create Dataset, as shown in the figure below:
When you click on create Dataset the following screen will be display.
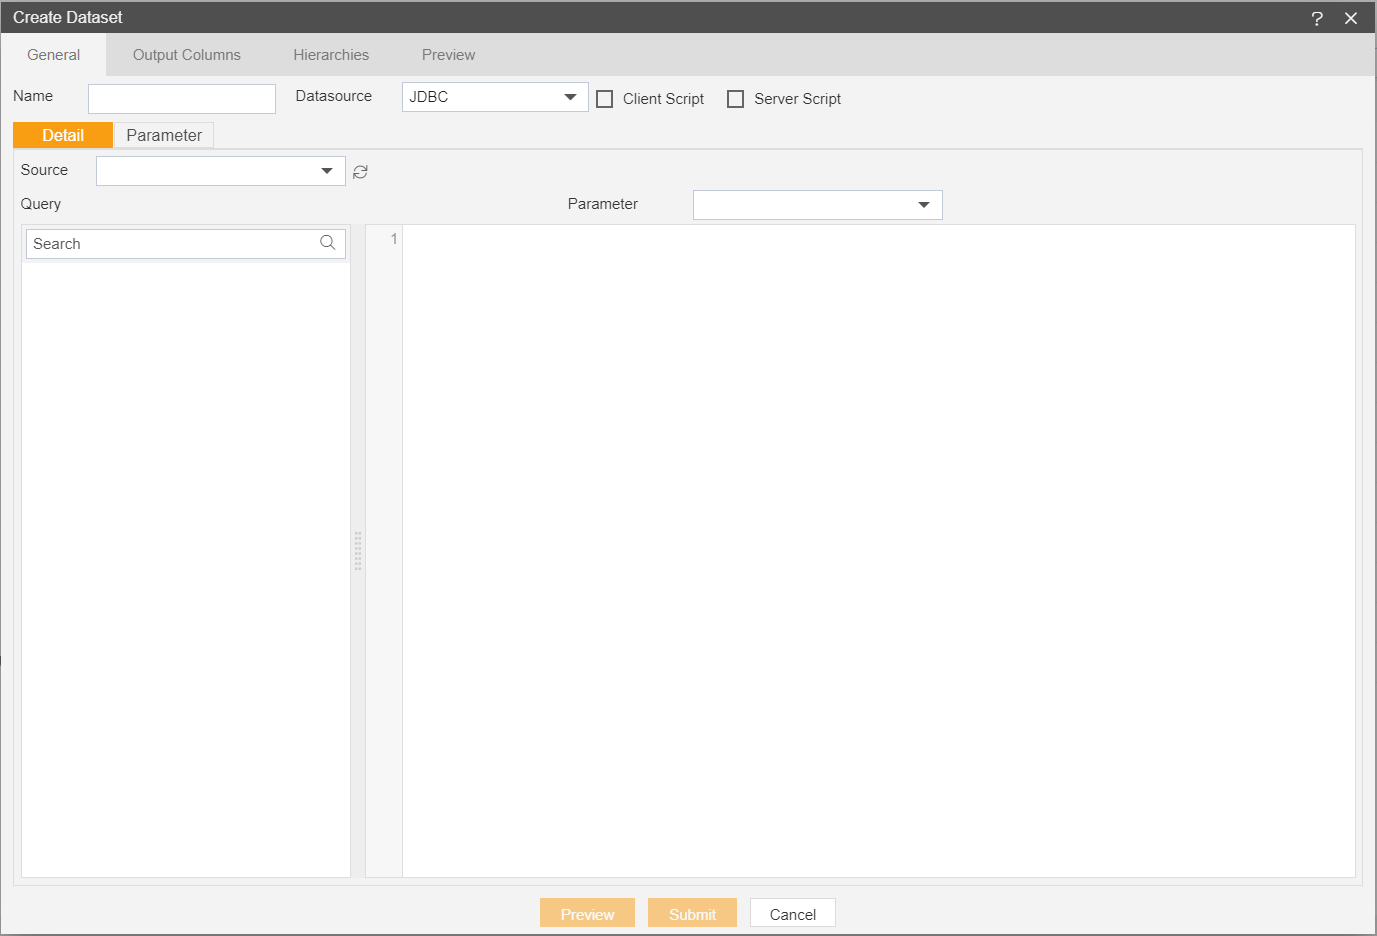
Enter the Following details in Dataset.
Name: SQLite (Add name as per your requirements)
Source: SQLite (select the data source which you have created)
DataSource: JDBC
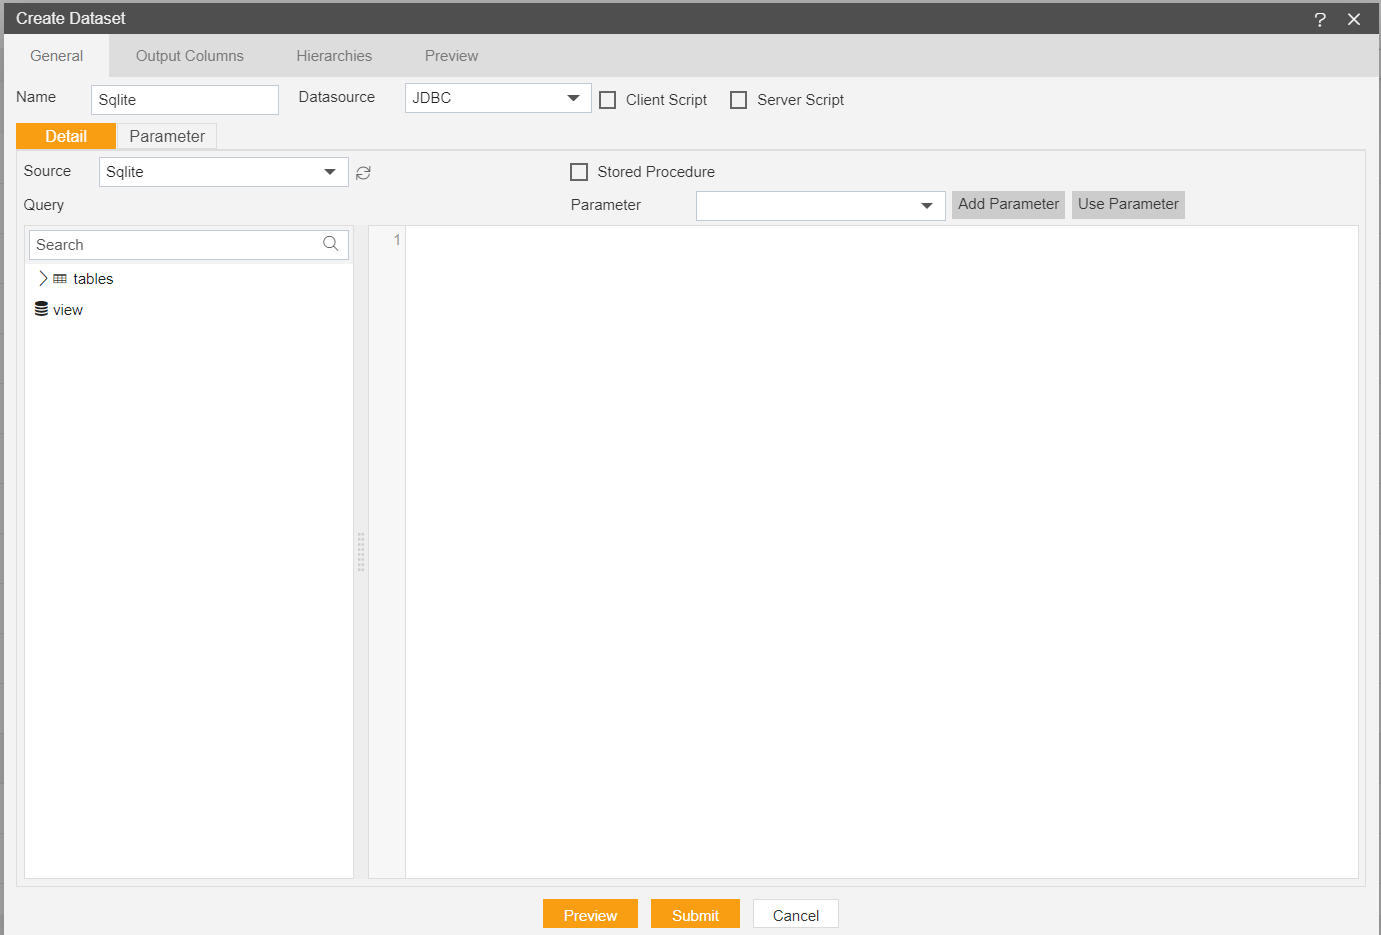
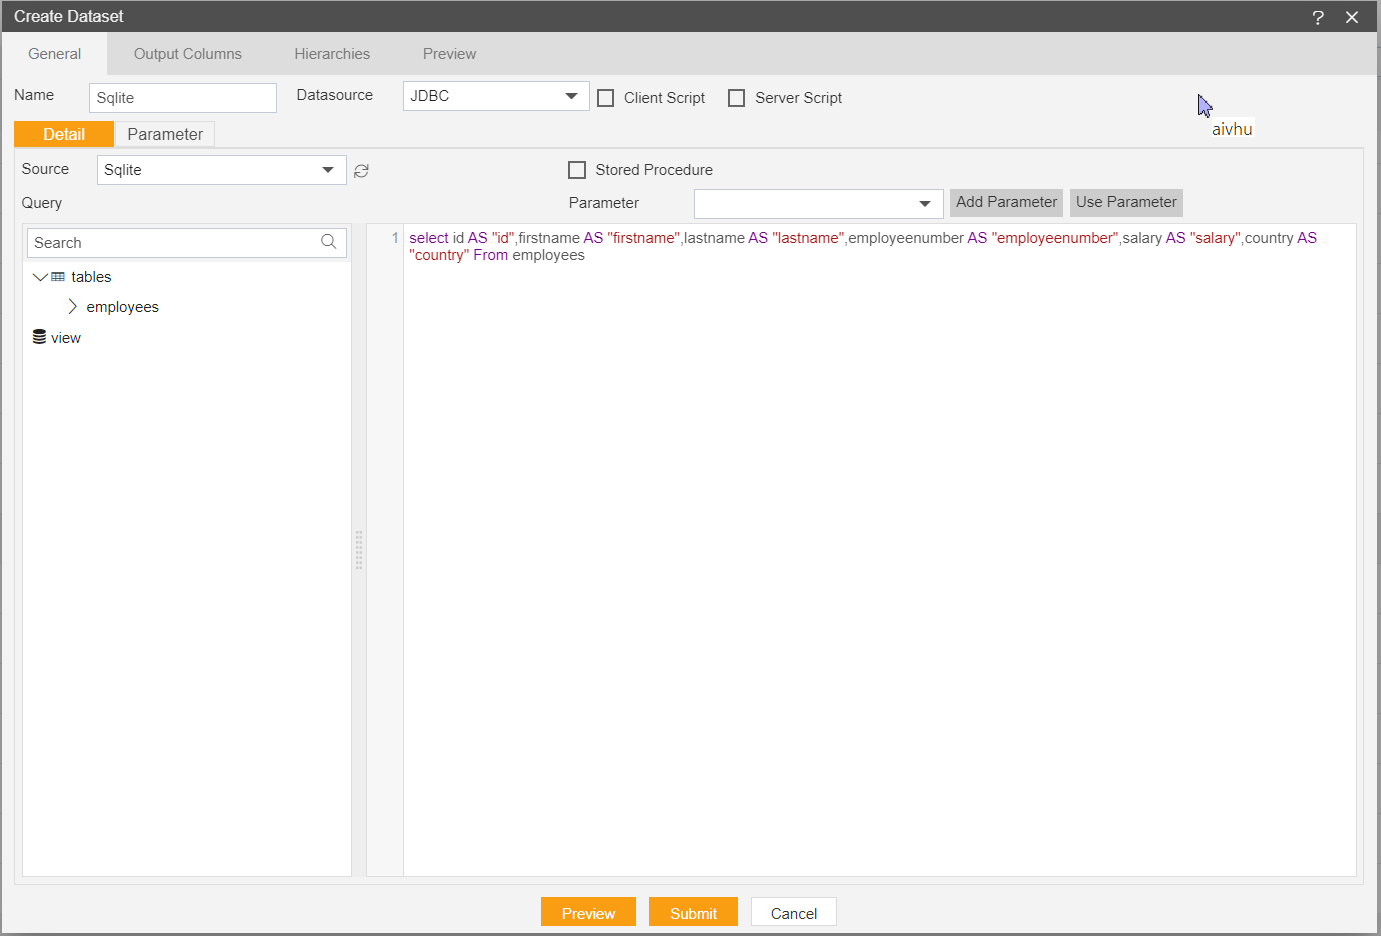
write a query to fetch data from required table.
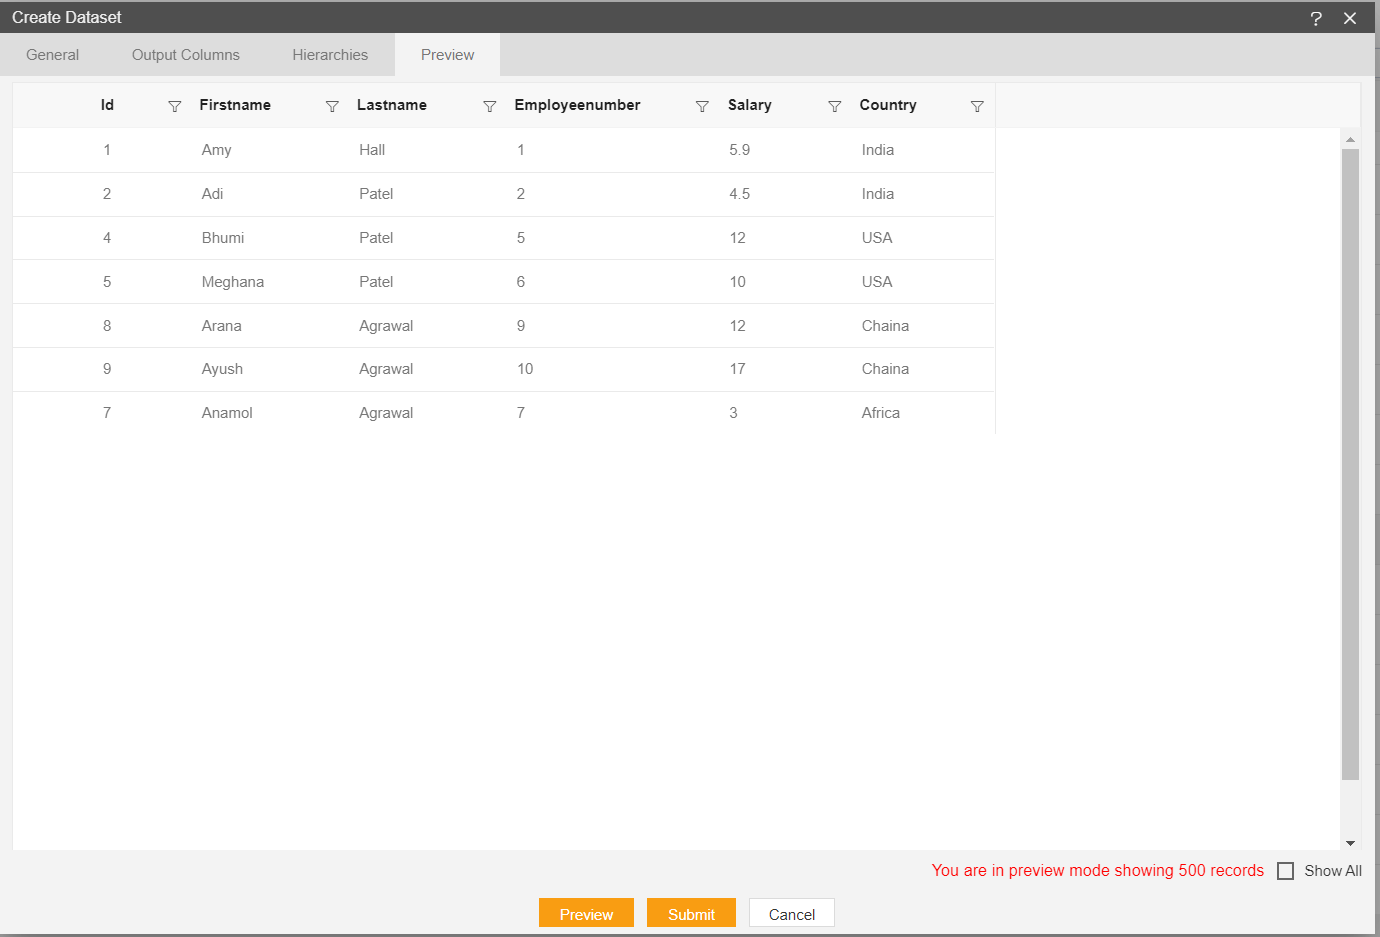
Click on Preview.
Click on Save and Exit.